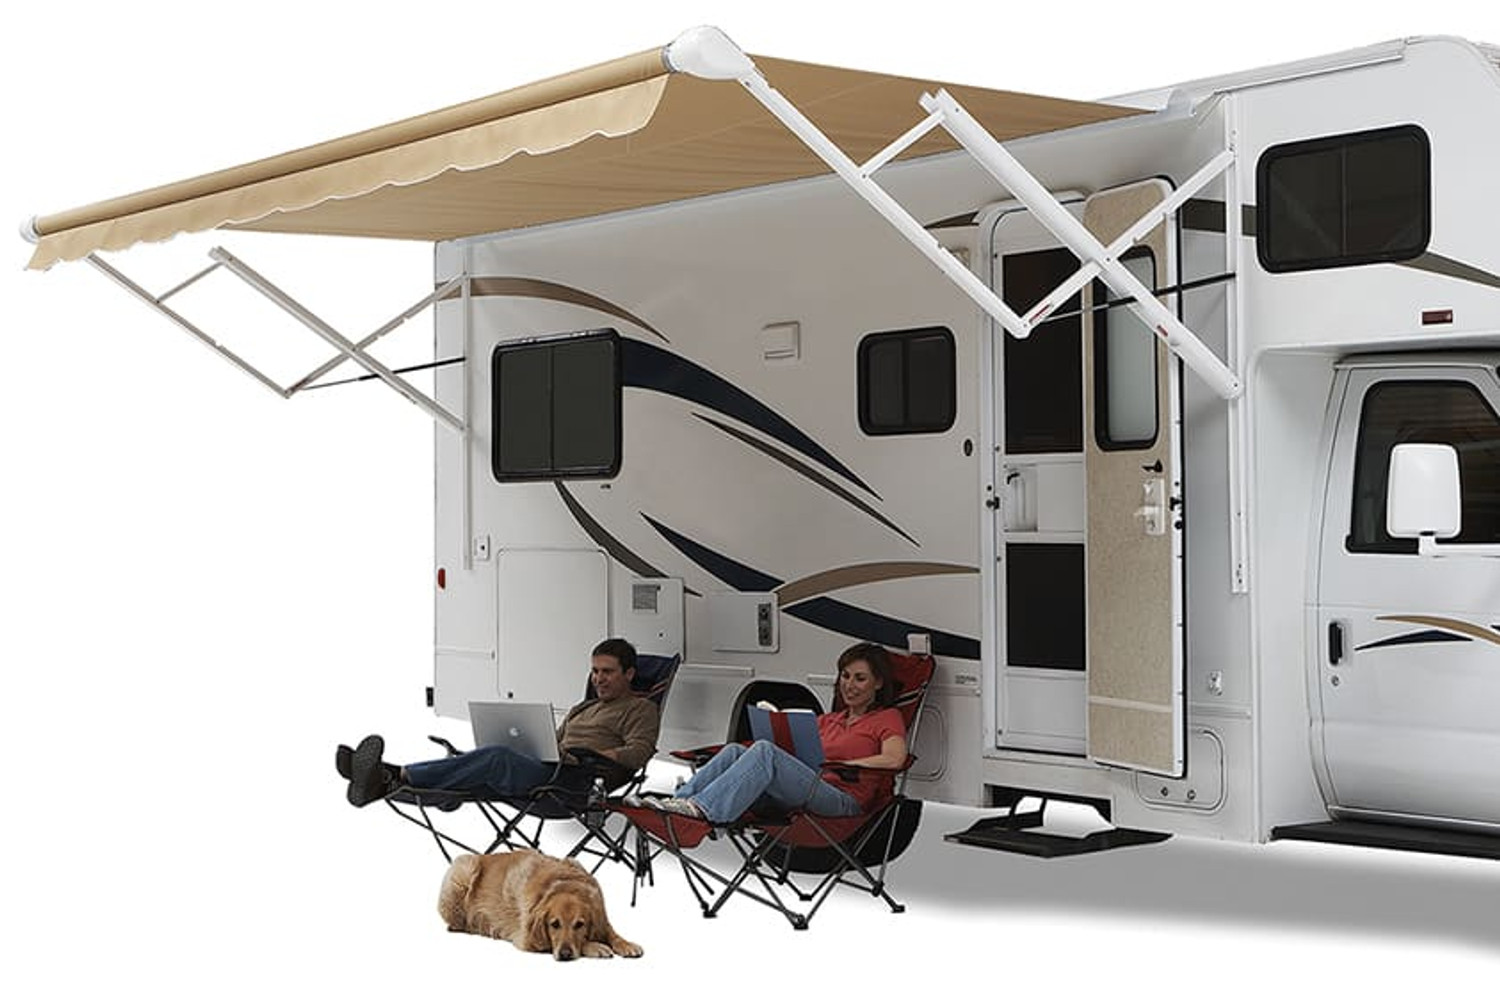
DIY Guide: How to Replace Your Carefree RV Awning and Upgrade Your Outdoor Experience
Introduction: RV awnings play a crucial role in enhancing your outdoor living space while on the road. Over time, wear and tear may necessitate the replacement of your Carefree RV awning. Fear not; replacing your RV awning is a manageable DIY project that can breathe new life into your outdoor adventures. In this step-by-step guide, we'll walk you through the process of replacing a Carefree RV awning, ensuring a smooth and successful upgrade for your home on wheels.
Materials and Tools: Before diving into the replacement process, gather the following materials and tools:
- New Carefree RV awning kit
- Ladder
- Screwdriver
- Wrench
- Silicone-based lubricant
- Assistance from a second person (optional but recommended)
Step 1: Safety First: Ensure your RV is parked on a level surface and engage the parking brake. Safety is paramount, so use a sturdy ladder to access the awning safely.
Step 2: Retract the Existing Awning: Before starting the replacement, retract the existing awning fully. This will provide easier access to the mounting brackets and facilitate the removal process.
Step 3: Remove the Old Awning: Using a screwdriver and a wrench, carefully remove the bolts securing the old awning to the RV. Have a second person assist you during this step to ensure a steady and controlled removal process. Once the bolts are removed, gently slide the old awning out of the mounting brackets.
Step 4: Prepare the New Awning: Unbox the new Carefree RV awning kit and familiarize yourself with its components. Carefully follow the manufacturer's instructions for assembly, ensuring all parts are in place and ready for installation.
Step 5: Install the New Awning: With the help of a second person, position the new awning in the mounting brackets. Secure the awning by fastening the bolts tightly with a screwdriver and wrench. Make sure the awning is level and aligned correctly before fully tightening the bolts.
Step 6: Test the Operation: Once the new awning is securely in place, extend and retract it to ensure smooth operation. Check for any unusual noises, resistance, or misalignment. If any issues arise, revisit the installation steps and make necessary adjustments.
Step 7: Lubricate Moving Parts: To promote the longevity of your new awning, apply a silicone-based lubricant to moving parts, hinges, and joints. This will help reduce friction and keep the mechanism functioning smoothly.
Conclusion: By following these simple steps, you can replace your Carefree RV awning and transform your outdoor space for future travels. Remember to prioritize safety, follow the manufacturer's instructions, and take your time during the installation process. With a fresh awning in place, you'll be ready to enjoy the great outdoors with added comfort and style on your RV adventures.